Mostly, your Android device will not take a backup of your contacts if you have poor internet connectivity or if Battery Saver is enabled on your device. Other times, its glitches with Google Contacts Sync services. Whatever the cause is, at least one of the fixes below will get the Android contacts backup issue resolved.
1. Check Internet Connectivity
When trying to backup your Android smartphone data, if all the backup options are stuck and displaying a ‘Waiting to back up’ message, you should check that your phone’s internet connection. If you are connected to the internet via Wi-Fi, check that the network isn’t showing limited connectivity. You also want to check that your router is transmitting data correctly. You can reboot your router and boost its Wi-Fi signal strength. If your internet connection is working right, but your Android smartphone still isn’t taking backup of your contacts, or any other device data, proceed to the next solution.
2. Disable Battery Saver
When active, the Android Battery Saver restricts some background processes like data synchronization. If your Android device isn’t taking backup of contacts and you have Battery Saver enabled, you should turn off the feature. You can swipe down the notification panel and tap Battery Saver to disable the feature. Alternatively, navigate to Settings > Battery > Battery saver and tap the ‘Turn Off Now’ button.
3. Reboot Your Device
Turning off your device and powering it back on would help refresh the operating system and possibly fix whatever glitch that was causing your Android device not to back up contacts. Hold the power/lock button on your device for about 2-3 seconds and select Restart. Reinitiate the contacts backup process when your phone turns back on and check if it works.
4. Enable Contact Sync
For every Google account connected to your Android smartphone, Google lets you choose specific data that you want to sync to your Google Drive: Contact, Calendar, Gmail, etc. If Android isn’t taking a backup of contacts, you should check and ensure that Contacts synchronization is enabled in your device’s Google account settings. Here’s how to go about it. Step 1: Launch the Android Settings menu and select Accounts. Step 2: Select the Google account connected to your device. If you have multiple Google accounts connected to your device, select the account you want your contacts synced to. Note: If multiple Google Accounts are signed in to the same device, Google contacts from all accounts will be synced/backed up. Step 3: Select Account sync. Step 4: Check that Contacts is enabled. If it isn’t, tap on it to toggle on Contacts synchronization. You should see immediately see a ‘Syncing now…’ message below Contacts. Wait for a couple of seconds or minutes (depending on how many contacts you have on your device) and then Android should complete taking a backup of your contacts.
5. Re-Enable Automatic Contact Sync
To backup your contacts automatically with zero efforts, we recommend you to enable Automatic Contact sync. If you have this feature enabled, but Android is still not backing up contacts, you should disable the feature and enable it again. That will refresh the feature and get your Android to take contacts backups in no time. Follow the steps below to get it done. Step 1: Launch the Android Settings menu and select Google. Step 2: Next, select Account services. Step 3: Tap Contacts sync. Step 4: Now, select Manage settings under the ‘Back up & sync device contacts’. Step 5: Toggle on ‘Automatically back up & sync device contacts’. You will be prompted to select an account you want your device contacts backed up to. Step 6: Next, select a connected Google account or tap ‘Add another account’ to add a new account. And that’s it. You should no longer face any issue backing up contacts on your Android device. Remember, if you already have Automatic Contact sync enabled but your contacts aren’t getting backed up, you should disable the feature and re-enable it.
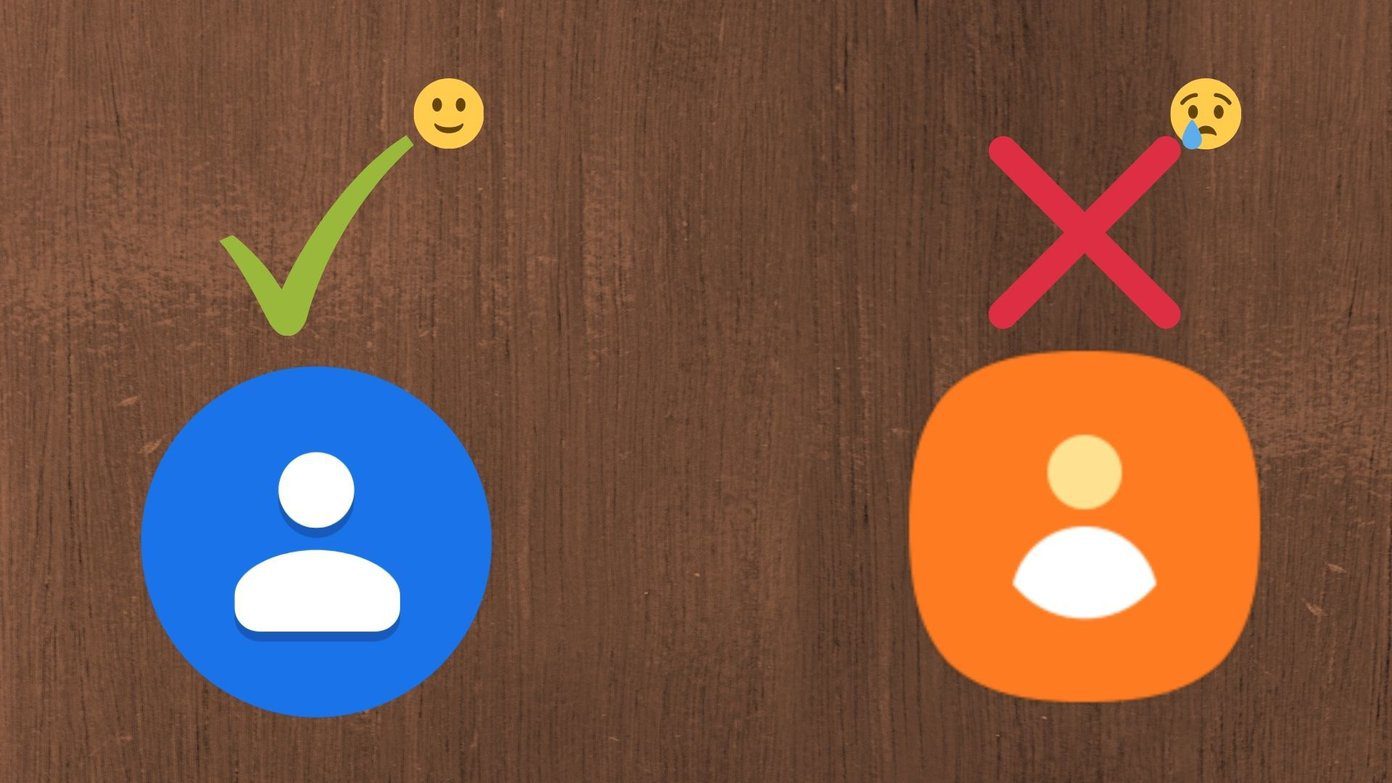
6. Re-Enable Google Contacts Sync App
Google Contacts Sync app powers contact synchronization and backup services on Android devices. It is a system app that ships out-of-the-box with every Android smartphone. If Android isn’t backing up contacts, disabling the Google Contacts Sync app and re-enabling it could help fix the issue. Step 1: Launch the Android Settings menu and select ‘Apps and notifications’. Step 2: Next, select ‘See All Apps’. Step 3: Tap the menu icon at the top-right corner. Step 4: Select Show system. Step 5: Scroll to the bottom of the App info page and select ‘Google Contacts Sync’. Step 6: Select Disable and tap Disable App on the prompt. Step 7: Tap the Enable icon to get the Google Contacts Sync app working again. The next thing you want to do after re-enabling the Google Contacts Sync app is to ensure it has unrestricted access to background data usage. Step 8: Select ‘Mobile data & Wi-Fi’. Step 9: Ensure that ‘Background data’ is toggled on. Step 10: Additionally, toggle on the ‘Unrestricted data usage’ option. It will make sure that Google Contacts Sync app is functional and takes contacts backup even when you have Data Saver on.
Safeguard Your Contacts
Taking contact backups to your Google account is a failproof method of keeping them safe. Should you change your phone or lose your device, you can recover your contacts without hassle. If your Android device isn’t backing up contacts to your Google account, follow the troubleshooting tips listed above to get the issue fixed. Next up: Are contacts missing from your phone? Find out how to recover deleted contacts from Google on Stock Android, iPhone, Samsung, and other devices in the article linked below. The above article may contain affiliate links which help support Guiding Tech. However, it does not affect our editorial integrity. The content remains unbiased and authentic.